
A hot upstairs bedroom, a converted garage that never cools down, or a room with weak airflow can make the whole house feel less comfortable. Ocean Springs mini split installation gives homeowners a targeted way to cool and heat the spaces that need extra help, without extending or rebuilding ductwork throughout the home.
A ductless system can be an excellent fit for Gulf Coast homes, but the best results come from more than choosing a unit off the shelf. Proper sizing, indoor unit placement, drainage, electrical work, and outdoor equipment protection all affect how well the system performs over time.
When a Mini Split Is the Right Answer
Mini splits are often associated with additions, but they solve many everyday comfort problems. Because each indoor air handler has its own controls, a ductless system lets you condition a specific room or zone without forcing the central HVAC system to work harder for the entire house.
That makes mini splits especially useful for sunrooms, enclosed patios, home offices, workshops, bonus rooms, garages, guest suites, and older homes with limited duct access. They can also help when one side of the home stays warmer than the rest or when family members prefer different temperatures in different rooms.
For some households, a single-zone mini split is the practical solution to one difficult space. For others, a multi-zone system can provide comfort in several rooms from one outdoor unit. The right choice depends on the layout of the home, how the rooms are used, existing HVAC equipment, and the budget for the project.
A mini split is not automatically the best replacement for every central system. If the entire home has aging, leaky ductwork or an undersized air conditioner, repairing or replacing the main system may deliver better whole-home value. A professional evaluation should identify the actual source of the comfort problem before recommending equipment.
What Ocean Springs Mini Split Installation Should Include
A quality installation begins with a conversation about how the space feels now. A technician should ask where the room gets the most sun, whether it is used year-round, how many people are typically in it, and whether there are insulation or airflow concerns. Those details matter because a room’s square footage tells only part of the story.
The equipment must then be sized for the room’s real cooling and heating load. An oversized mini split may cool the room too quickly without removing enough humidity. That can leave the space feeling cool but clammy, which is a real concern along the Gulf Coast. An undersized unit may run continuously and still struggle during the hottest afternoons.
Indoor unit placement deserves the same attention. The air handler should have a clear path to distribute air across the room, rather than blowing directly into a doorway, tall furniture, or one person’s favorite chair. It should also remain accessible for filter cleaning and service. A properly chosen location improves comfort without turning the unit into an eyesore.
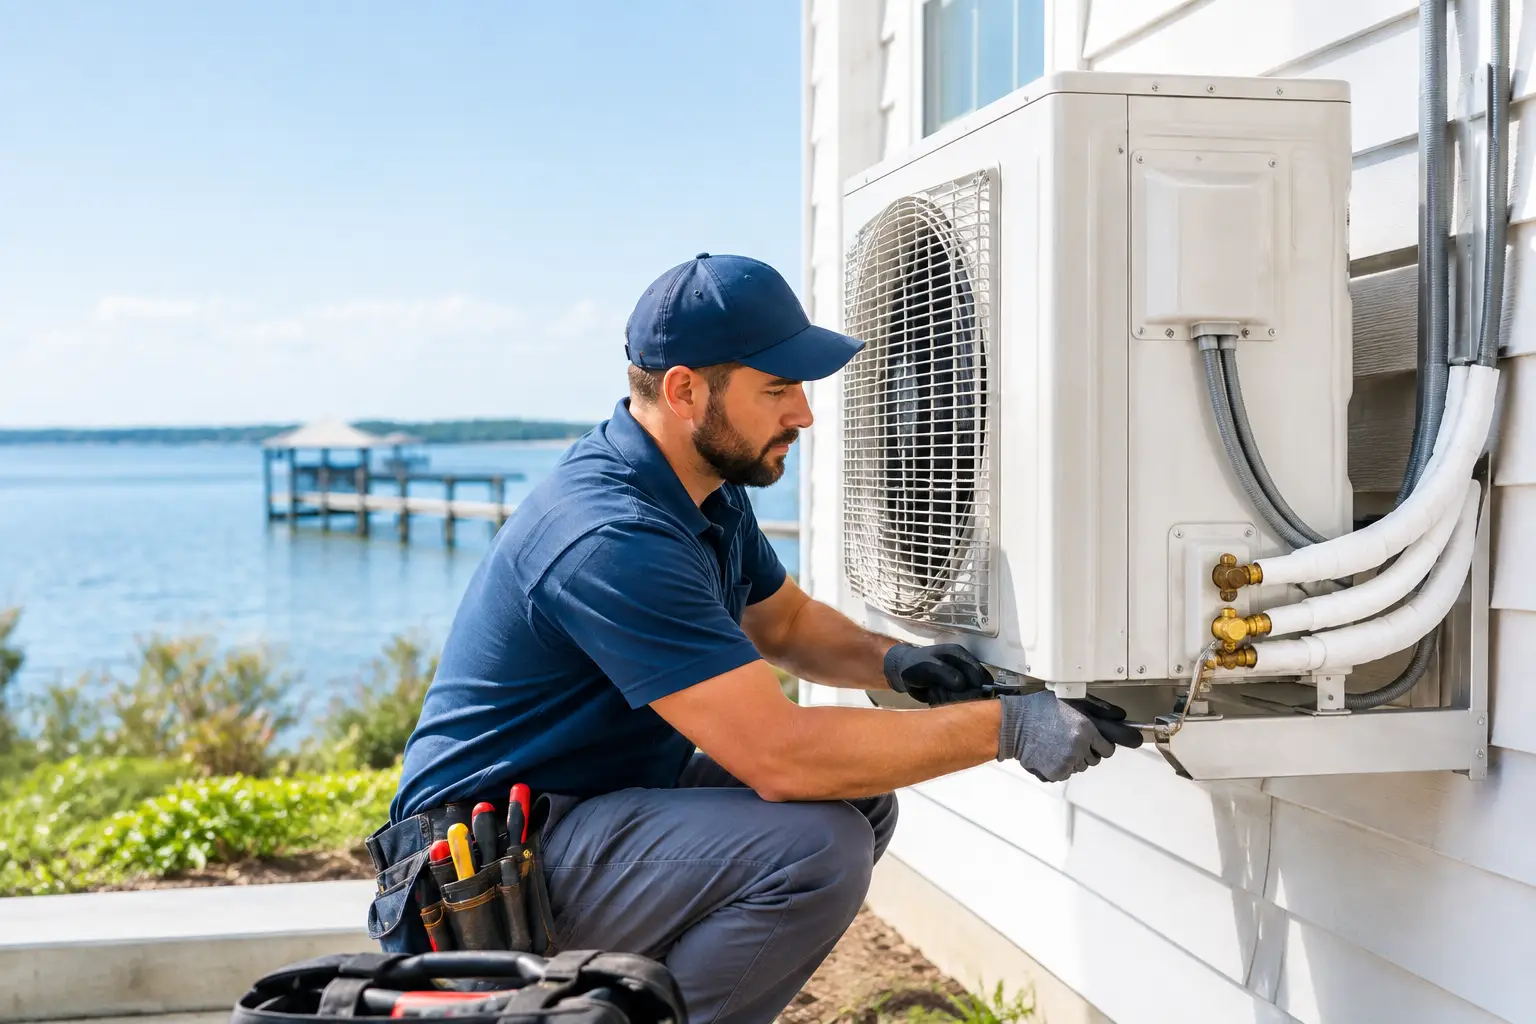
Outside, the condenser needs stable support, adequate clearance, and a location that allows technicians to maintain it. Coastal humidity, heavy rain, salt exposure, and yard debris can all be hard on outdoor HVAC equipment. The installation plan should account for drainage, protection from flooding where needed, and enough space for reliable airflow.
The connecting refrigerant lines, electrical wiring, and condensate drain line must be installed carefully. The drain line is particularly important in humid weather. If it is poorly routed or lacks the proper slope, water can back up and create leaks, odors, or damage inside the home.
The Installation Day: What Homeowners Can Expect
Most single-zone mini split installations can be completed in a day when the site is straightforward and electrical capacity is already available. More complex projects, multi-zone systems, difficult wall access, or electrical panel upgrades may take longer. A reputable contractor should explain the expected timeline before work begins.
The work typically involves mounting the indoor air handler, setting the outdoor condenser, running the line set through a small opening in the exterior wall, connecting electrical components, and installing the condensate drain. The technician will also pressure-test the refrigerant lines, evacuate moisture and air from the system, start the equipment, and verify that it is operating as intended.
Before the crew leaves, you should know how to operate the remote or wall control, clean the filters, recognize normal operating sounds, and set the system for efficient daily use. Ask where the disconnect, drain line, and equipment shutoff are located. Clear answers at the start make ownership easier later.
Cost Depends on More Than the Unit
It is understandable to focus on the price of the mini split itself, but equipment is only one part of the investment. Installation cost can vary based on capacity, efficiency level, the number of indoor zones, line-set length, wall construction, electrical needs, mounting requirements, and site access.
A lower upfront price is not always the affordable choice if it leaves out electrical work, proper drainage, code requirements, or commissioning. Those details can lead to expensive corrections later. On the other hand, the most expensive model is not always necessary for every room. The goal is a dependable system that matches the space and your household’s priorities.
Financing can make a needed comfort upgrade easier to manage, particularly when a mini split solves an immediate problem such as an unusable bedroom or a home office that overheats every afternoon. Ask for a clear, written scope of work so you understand what is included before installation begins.
Common Mistakes That Can Hurt Comfort
The most common mini split problems usually begin with planning, not with the equipment. Choosing a system strictly by online square-footage charts can lead to poor humidity control or inadequate cooling. Every room has different heat gain, insulation, ceiling height, windows, and occupancy demands.
Another mistake is treating installation as a simple handyman project. Ductless equipment requires correct refrigerant handling, electrical connections, condensate management, and startup procedures. Improper installation can reduce efficiency, shorten equipment life, and affect manufacturer warranty coverage.
Homeowners should also avoid forgetting about maintenance. Mini split filters collect dust quickly, especially in homes with pets, frequent cooking, or high pollen exposure. Dirty filters restrict airflow and can reduce comfort. Regular cleaning, seasonal professional maintenance, and prompt attention to drainage or performance changes help protect the system.
Getting the Most From Your New System
Once your mini split is installed, consistent settings usually work better than frequent large temperature changes. During humid Mississippi Gulf Coast weather, setting the unit to a comfortable temperature and allowing it to maintain the room can support better moisture removal than turning it off and on throughout the day.
Keep furniture, curtains, and storage clear of the indoor air handler’s airflow path. Clean the washable filters as recommended by the manufacturer, and schedule professional service if you notice water dripping indoors, unusual noises, weak airflow, ice buildup, or a room that no longer reaches the set temperature.
A properly planned mini split should make the room feel like part of the home again, not a space everyone avoids during extreme weather. Start with an in-home assessment, ask direct questions about sizing and installation details, and choose a qualified HVAC team that treats your comfort as a long-term commitment.
0 Comments